How to install Plesk Panel

If you’re looking to install Plesk Panel on your VPS server, you’re in the right place! Whether you’re a beginner or an experienced user, this step-by-step guide will help you navigate through the installation process with ease.
Before you begin, make sure you have your VPS server ready with the necessary credentials – IP address, root username, and password. You’ll also need to have Putty, a Linux supporting software, installed on your laptop or device. If you don’t already have it, you can easily download it from Putty’s website.
Once you have Putty installed, open the software and enter your server’s IP address, port, root username, and password. Keep in mind that the password will not be visible as you enter it, so make sure to hit enter once you’ve inputted it.
To start the installation of Plesk Panel, enter the following code in the Putty CMD:
sh <(curl https://autoinstall.plesk.com/one-click-installer || wget -O – https://autoinstall.plesk.com/one-click-installer)
This code will kickstart the installation process, so sit back and wait for a little while. The installation may take up to 30 minutes or longer, so be patient as your network is being configured.
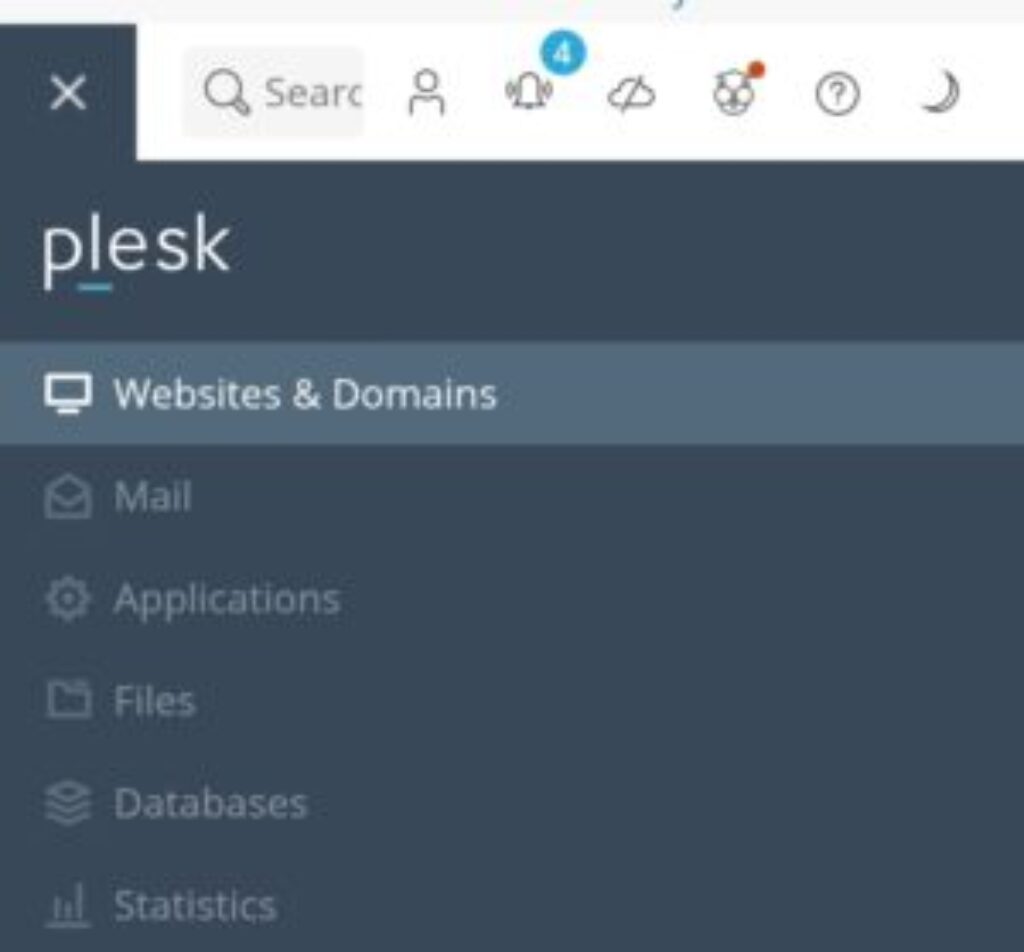
Once the installation is complete, you’ll receive a success message and a link to access your newly installed Plesk Panel. Click on the link and follow the prompts to set up your username and password. You’ll have a 15-minute free trial to explore the features of Plesk Panel before you’ll need to purchase a license.
So there you have it – a simple and straightforward guide on how to install Plesk Panel on your VPS server. Get started today and unlock the full potential of your website with Plesk Panel!
→ See More Vle One HomeFurniture-ideaNaturalHosting HomeClient areaWordpress